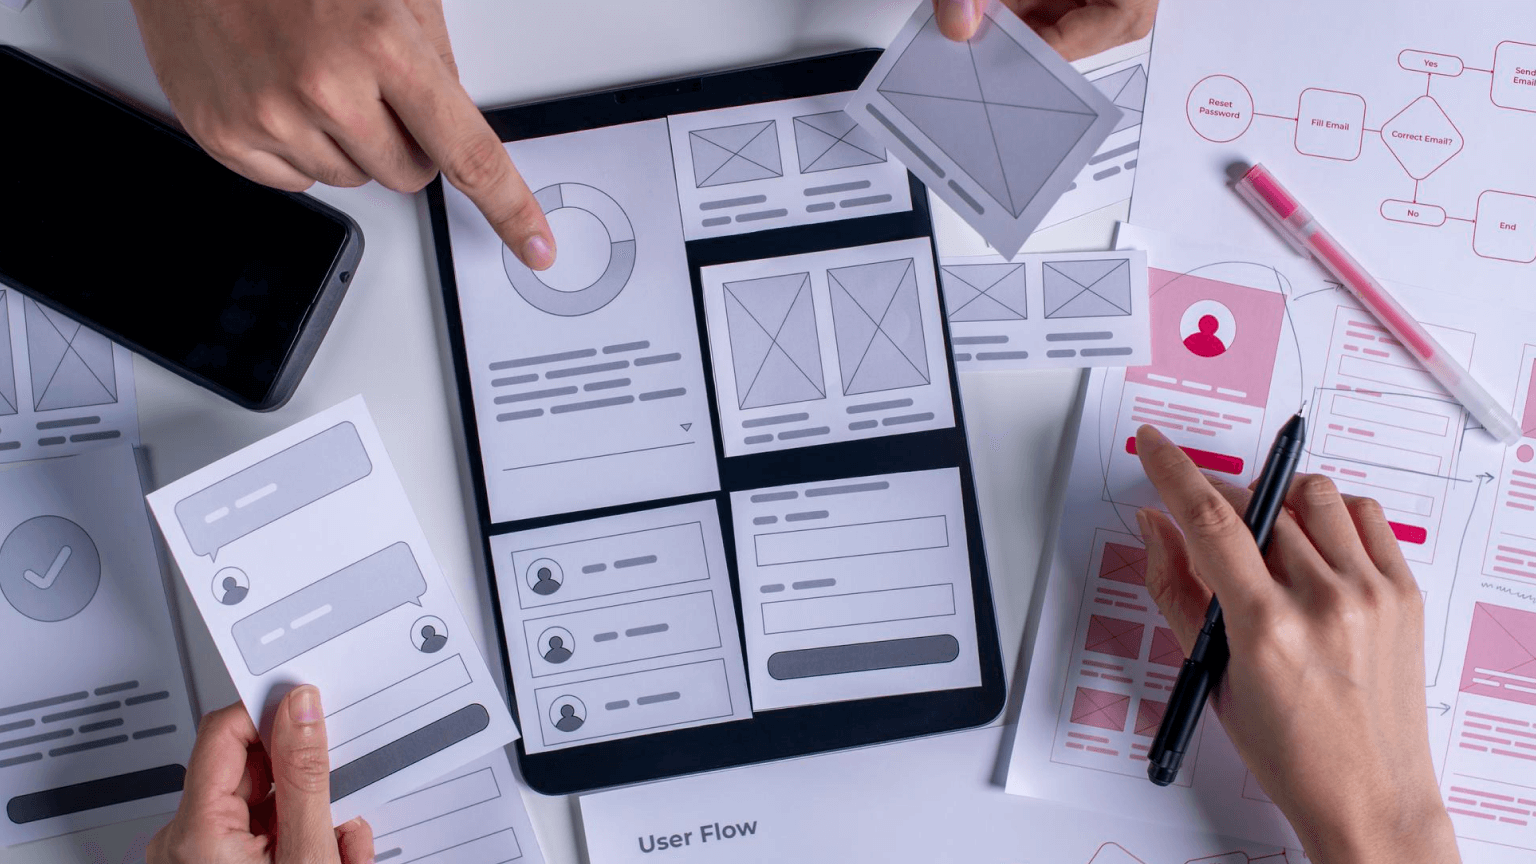
Wireframing is a fundamental part of UI/UX design, helping teams visualize the structure of a digital product before committing to detailed design and development. Low-fidelity wireframes play a crucial role in early-stage design by focusing on layout, user flow, and core functionality without distractions like colors, typography, or high-end visuals.
This guide will explore everything you need to know about low-fidelity wireframes, including their benefits, use cases, tools, and best practices to help streamline your design process.
What is a Low-Fidelity Wireframe?
Definition:
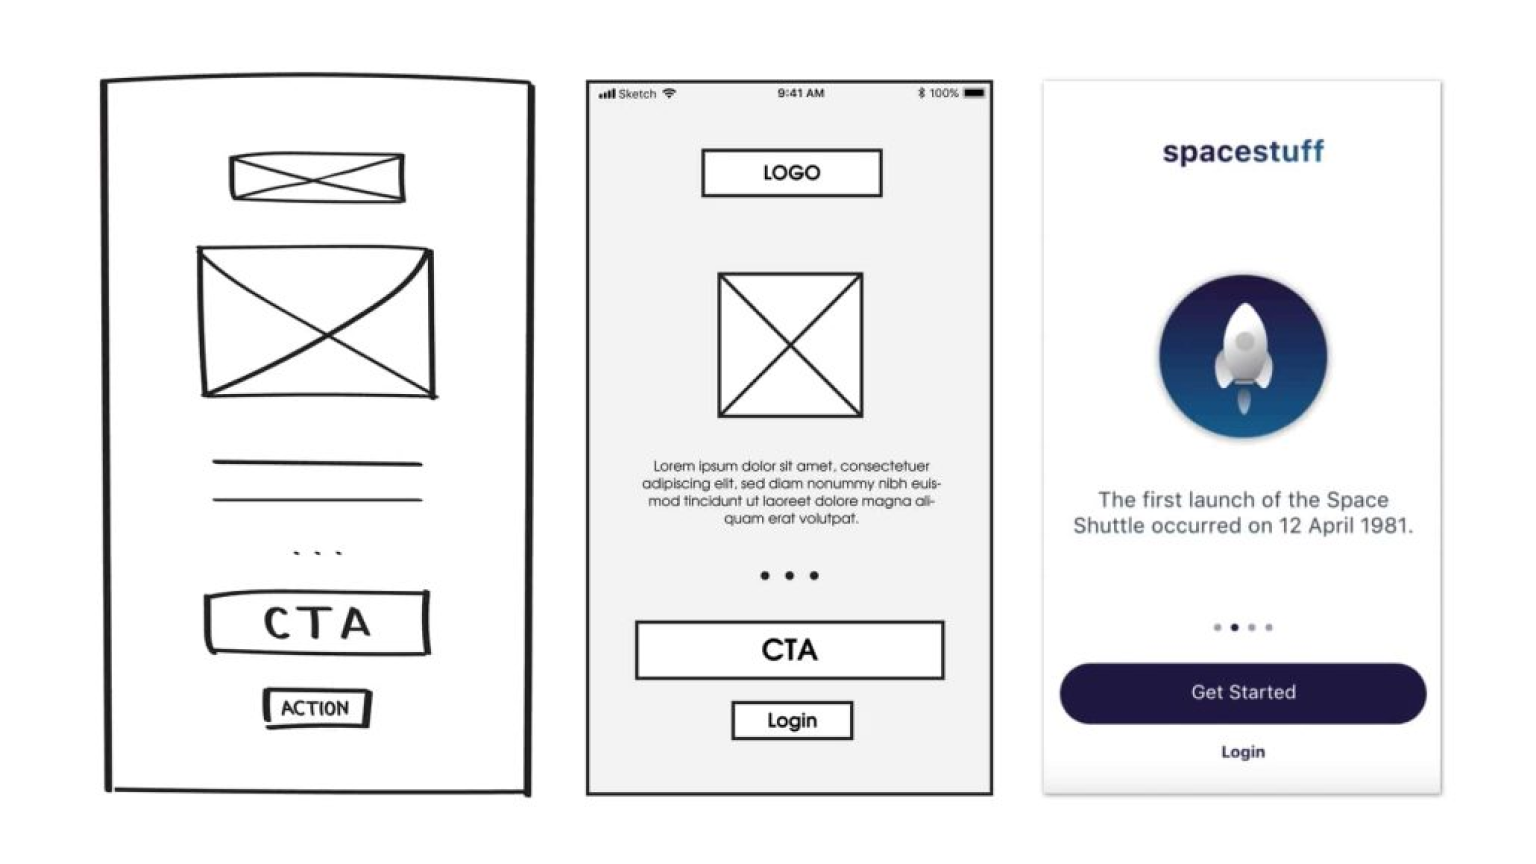
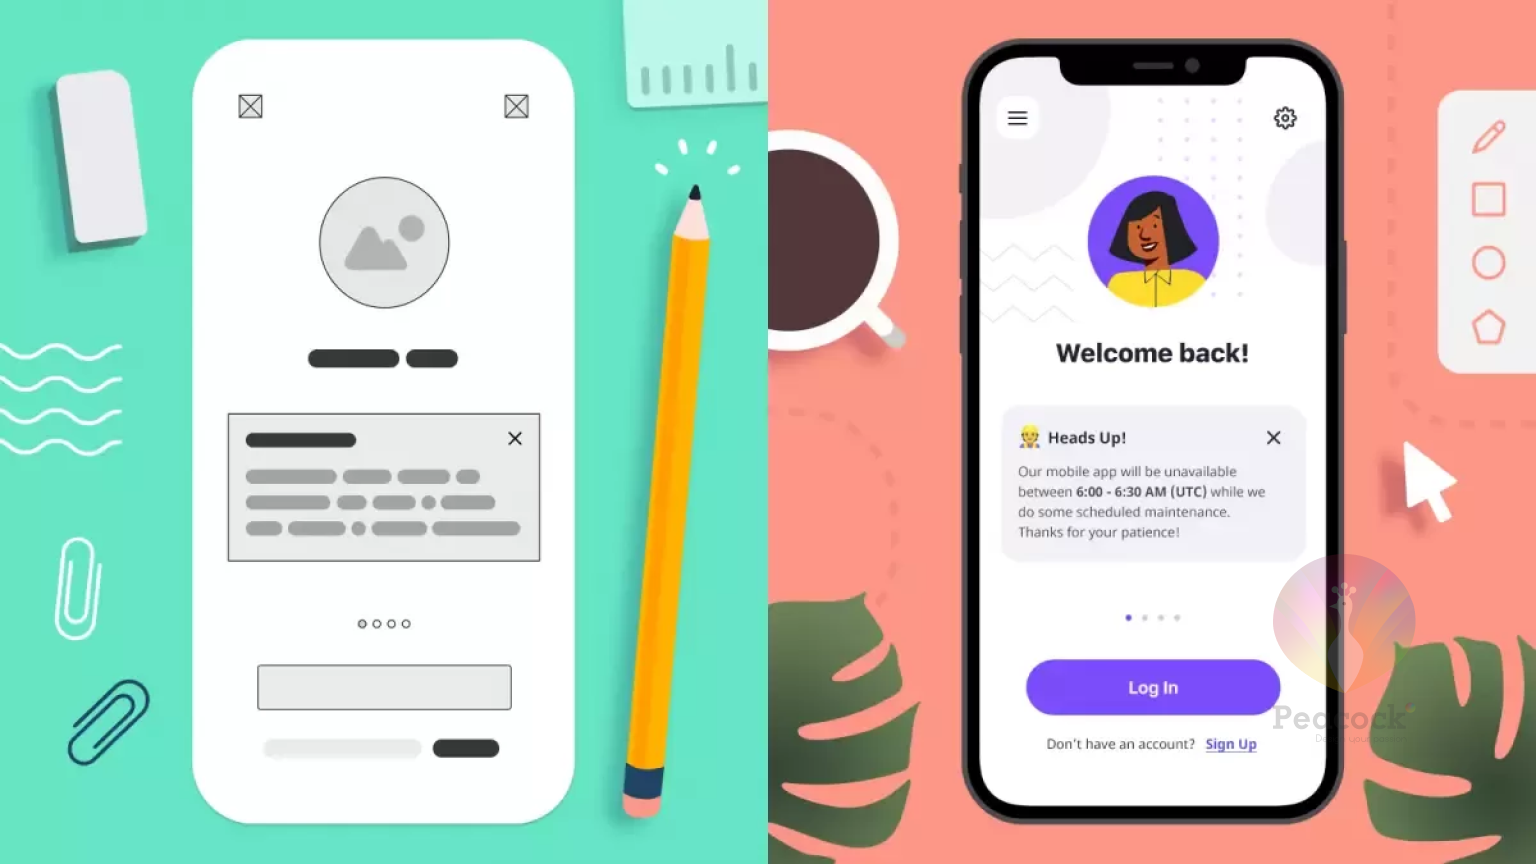
A low-fidelity wireframe is a simplified, rough sketch of a webpage or app layout that focuses on structure and usability rather than aesthetics. These wireframes use basic shapes and placeholders to represent elements like buttons, images, and text blocks.
Key Characteristics:
- Minimal detail: No typography, colors, or complex images.
- Basic layouts: Uses rectangles, circles, and placeholders for UI elements.
- No interactivity: Typically static representations for early-stage discussions.
Why Low-Fidelity Wireframes Matter in UX Design
✅ Speeds up ideation & prototyping – Allows teams to iterate quickly.
✅ Improves collaboration – Helps designers, developers, and stakeholders align on structure.
✅ Identifies usability issues early – Saves time and resources before full development.
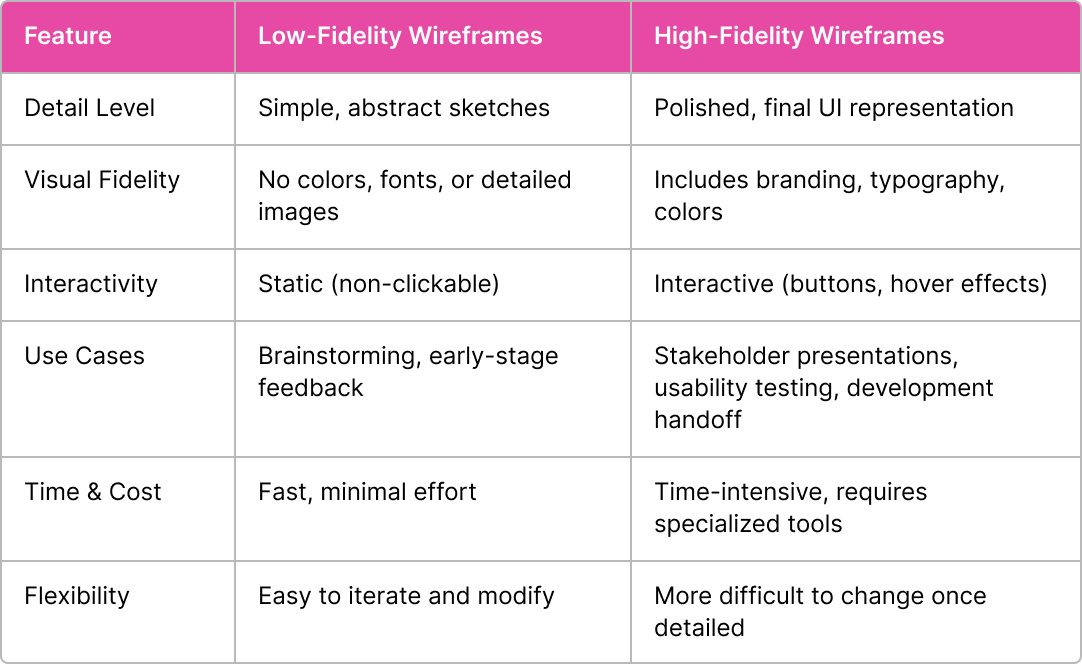
Low-Fidelity vs. High-Fidelity Wireframes: Key Differences
When to Use Low-Fidelity Wireframes
Best Scenarios for Low-Fidelity Wireframes
✅ Early-stage brainstorming – Quickly sketch layout ideas before UI design begins.
✅ User flow validation – Helps ensure smooth navigation across screens.
✅ Stakeholder discussions – Simplifies complex concepts for better understanding.
✅ Usability testing (before final UI) – Ensures users can navigate intuitively.
✅ Agile design processes – Facilitates quick iterations and feedback loops.
Limitations of Low-Fidelity Wireframes
⚠️ Lack of visual detail – Hard for non-designers to envision the final product.
⚠️ No interactivity – Cannot fully test user interactions or animations.
⚠️ Potential for miscommunication – Requires additional explanations for developers.
How to Create Low-Fidelity Wireframes (Step-by-Step Guide)
Step 1: Define the Purpose
- Are you testing user flows, structuring content, or getting stakeholder approval?
- Establish clear objectives before starting the wireframe.
Step 2: Choose a Wireframing Method
📝 Pen & Paper: Ideal for rapid sketching and brainstorming.💻 Digital Tools: Use Figma, Balsamiq, Moqups, or Miro for collaborative wireframing.
Step 3: Sketch Basic Layouts
- Use rectangles, lines, and placeholders for buttons, images, and content.
- Keep the layout simple and focused on functionality.
Step 4: Define User Flow & Navigation
- Ensure a logical progression between screens and sections.
- Label UI components (e.g., CTA buttons, search bars, input fields).
Step 5: Gather Feedback & Iterate
- Share wireframes with stakeholders, developers, and UX researchers.
- Make refinements before transitioning to high-fidelity wireframes.
Real-World Examples of Low-Fidelity Wireframes
1. Basic Website Wireframe
- Homepage layout with header, navigation, content blocks, and footer.
2. Mobile App Wireframe
- Simple UI structure showcasing login, dashboard, and navigation menus.
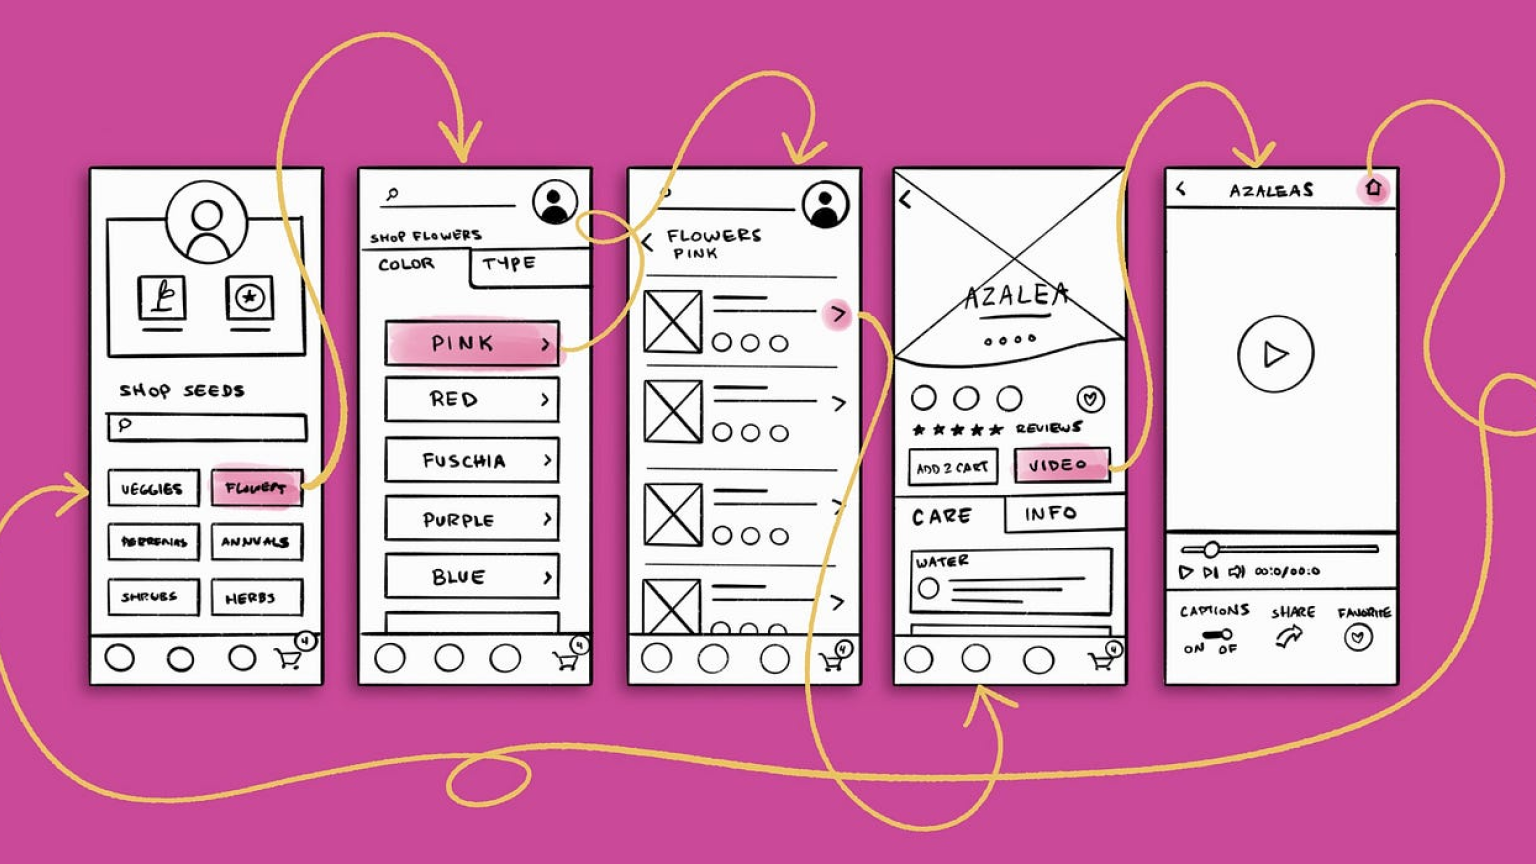
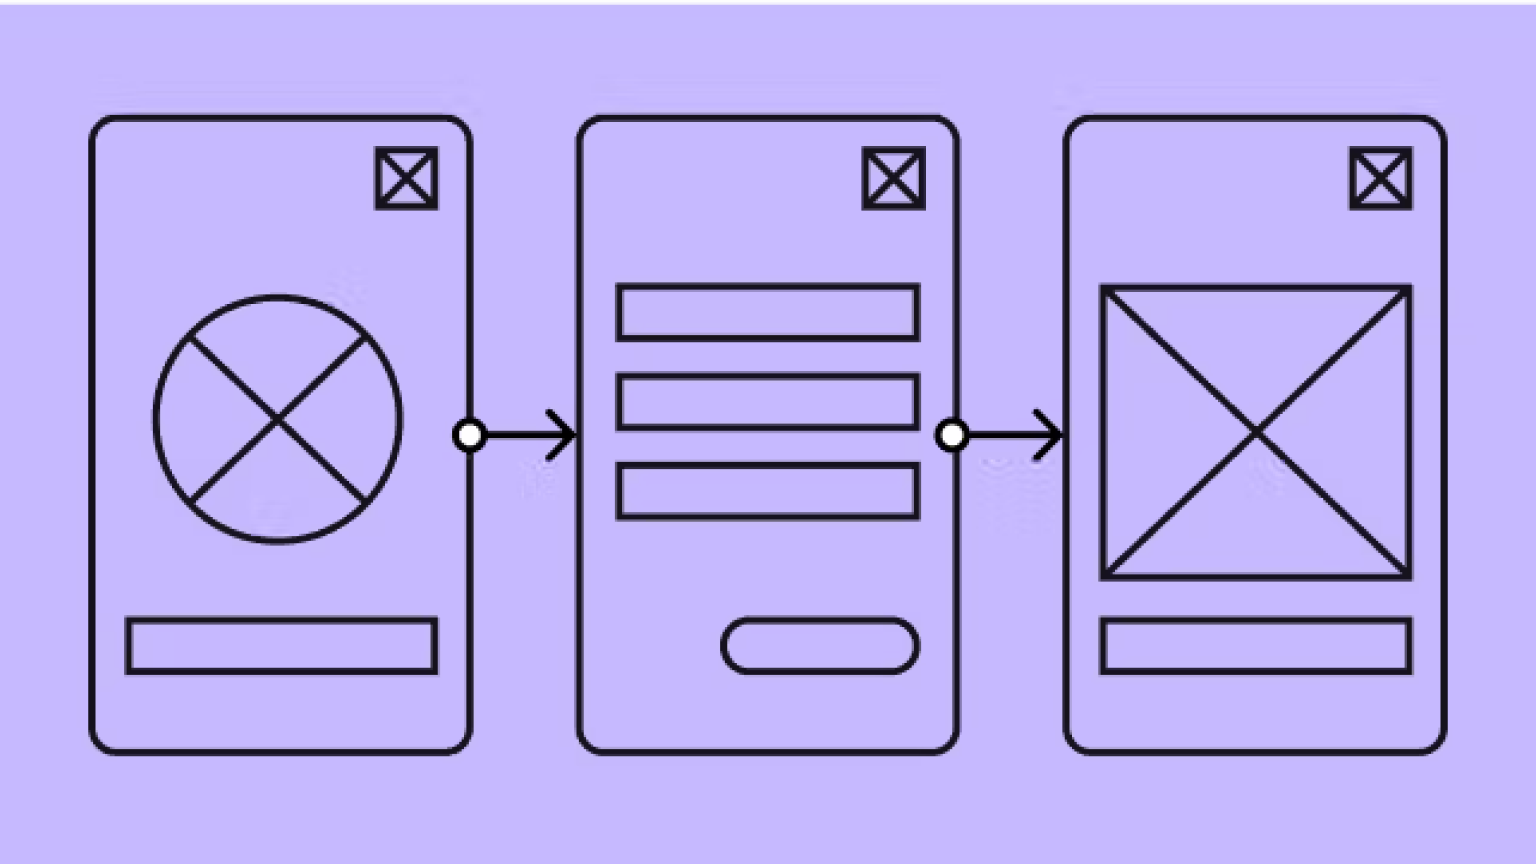
3. UX Flow Wireframe
- Diagram illustrating user journey from onboarding to checkout.
4. Paper Wireframe Example
- Quick hand-drawn concept sketches used in UX workshops.
Also read
How to Transition from Low-Fidelity to High-Fidelity Wireframes
🔹 Refine Layout & Structure: Finalize wireframe elements before adding details.
🔹 Add Branding Elements: Integrate typography, colors, and real images.
🔹 Enhance Interactivity: Include clickable buttons, animations, and UI transitions.
🔹 Conduct Usability Testing: Validate user flows before handoff to developers.
Best Wireframing Tools for Low-Fidelity Design
Top Tools for Low-Fidelity Wireframes
✅ Balsamiq – Sketch-style wireframing for quick prototyping.
✅ Moqups – Browser-based tool for wireframing & collaboration.
✅ Pen & Paper – Ideal for rapid iteration and UX workshops.
✅ Miro – Collaborative tool for team-based wireframing.
Transitioning to High-Fidelity Wireframes? Try These Tools
✅ Figma – Cloud-based UI design with real-time collaboration.
✅ Adobe XD – UX/UI design with interactive prototyping.
✅ Axure RP – Advanced wireframing & user interaction design.
Common Questions About Low-Fidelity Wireframes (FAQs)
Q1: What is the main difference between low-fi and high-fi wireframes?
🔹 Low-fi wireframes focus on structure & flow; high-fi wireframes include visuals & interactivity.
Q2: Are low-fidelity wireframes necessary?
✅ Yes! They help validate ideas before investing in UI/UX design and development.
Q3: Can I use low-fi wireframes for client presentations?
⚠️ They are better suited for early brainstorming sessions; use high-fi wireframes for approvals.
Q4: When should I transition from low-fidelity to high-fidelity?
🔹 Once the layout, navigation, and functionality are validated, move to high-fi for finalizing UI.
Q5: Do I need a design tool to create low-fidelity wireframes?
🔹 No! Paper sketches work well, but digital tools enhance collaboration and efficiency.
Why Low-Fidelity Wireframes Are Essential
✅ Faster design iterations: Helps validate layouts early.
✅ Encourages collaboration: Aligns teams on structure before UI details.
✅ Enhances UX workflows: Ensures a user-friendly experience before development.
✅ Part of a balanced workflow: Leads to better high-fidelity designs.
🎨 Want expert wireframing & UX design?
🔹 Contact Peacock India for professional UI/UX design services! 🚀